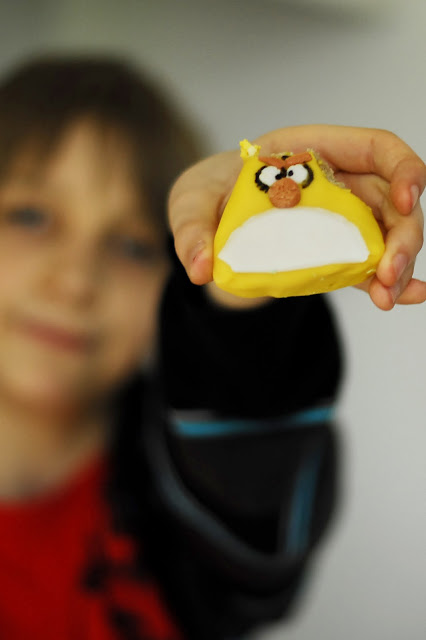
I started making the shapes out of cake crumbs mixed with cream cheese and coating them with white chocolate. I just moulded them by hand into the shapes I wanted.
First bird completed! Yippee. I was quite pleased with the result and moved swiftly on to the pigs. I found the production - line method worked best for me. I bought some ready to roll, coloured icing and just rolled it out and wrapped it around the shapes, smoothing the joins with my fingers, then made the little bits and pieces for each character before putting them together.
I found the icing was quite sticky so the eyes, beaks and things mostly just stuck on by themselves. I mixed flour and water to a paste for the bits that needed some help.
I purchased an edible, black felt tip pen for the black details. I found it on eBay here.
A few completed pigs and birds.
Chillin' in the fridge, the full set of characters is complete.
I then turned to making the 'level' to set them in. I thought about making it playable, but after all the work I'd put in so far, I couldn't bear it. So this bit is all just for show (and eating, of course!)
All the icing I used was ready made, to save time. I had never used it before, but now I am a true convert. What a revelation! Tasty and perfect consistency. I'm never making icing again!
Mini eggs, fried eggs and jewels, plus an obstacle or two, some battlements made of penguins and quite a bit of cake and icing and we're ready for the characters...
Ready for the birthday boy!
Angry? or confused...
It ended up quite crowded in there.
Precariously arranged penguin biscuits.
The birthday boy sees the cake for the first time... (he looks pleased)
Whaddya know? It even tastes good!
So there it is - my Angry Birds cake. Hard work, but totally worth it!
Jude
efc photography


wow this is amazing, very well done. I am impressed. I am going to take the tip about the read made icing for sure and get one of those pens. From the photo looks as though he really was surprised!
ReplyDelete